

If you’ve been around Pinterest, Etsy, Ebay or any crafty blogs lately, you’ve seen the craze that’s sweeping the Internet: deco mesh (also called poly sinamay mesh) wreaths. They’re beautiful, fluffy and weatherproof! No wonder people are snatching them up like hotcakes to put on their frontdoors for every holiday! I was especially inspired by this wreath on Picture Perfect Cooking, that I found on Pinterest.
I belong to the school of thought “why buy it when you can make it!?!” As soon as I began seeing all these wreaths coming across my Pinterest feed, I started doing research into how I could make my own. The first thing I learned was, Mardi Gras Outlet, based in Baton Rouge, Louisiana, has the best prices & selection of deco mesh ANYWHERE on the internet. I live in a TEENY TINY town that has one sorta-kinda craft store…so I have to order any kind of crafty thing I want on the internet. This place is awesome. They have all the supplies you need, all sorts of colors, widths, lengths, varying wreath sizes & all sorts of accessories to make your wreath really pop. Additionally, they have a blog with fun ideas using their supplies that is updated all the time and a Pinterest board. I cannot recommend them enough. I ordered my supplies on a Sunday and they arrived on Thursday. Pretty darn quick considering I didn’t pay any extra for expedited shipping.
Supplies:
21″ Poly Mesh Roll in Cranberry
21″ Poly Mesh Roll in Navy Blue
21″ Poly Mesh Roll in White
20″ Round Box Wire Wreath Form
Red, white & blue chenille stems
American flag bow
Directions:
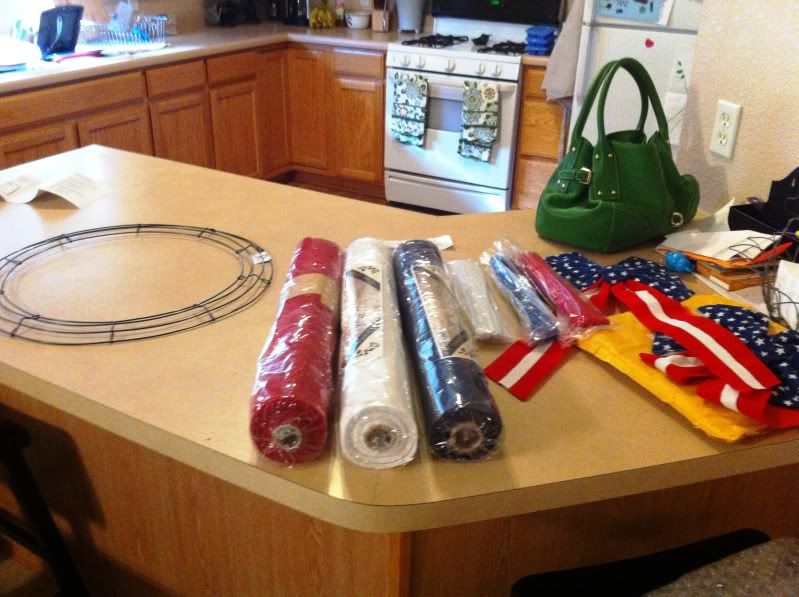 1. Lay all of your supplies out so you know what you have and it’s within arm’s reach. This is my mise en place as it were. The nice thing about constructing this wreath is, it doesn’t require much in the way of tools. Just something to cut the mesh and the chenille stems. The only other thing you need is your hands.
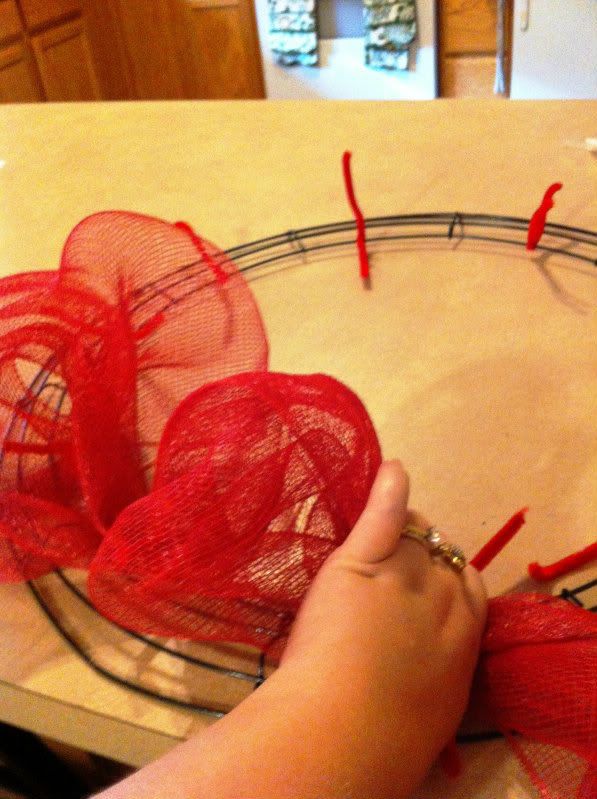 2. Decide what color you want on the inside ring. If you’re doing all one color then it’s easy. I did three which made it a little more difficult. I chose red for the inside ring. I cut my red chenille stems in half and attached them to the inner ring of the wreath frame, one to each section. I just twisted them on like bread twist-ties. It’s a whole lot easier to twist them on before hand, then to try to hold the mesh in one hand and twist a stem on in the other. Believe me. Once you have the stems twisted on, gather up the end of your mesh, leaving a couple inch tail and attach it with the stem. Here’s where I encountered a bit of a learning curve. I didn’t twist-tie the red mesh on tight enough at first. But, the great thing about the mesh and stems is, it’s all reusable. If it’s not tight enough or a puff isn’t big enough, you can go back and fix it. Once you have the end attached, go out about 6-8 inches, depending on how big you want your puff, and twist-tie again. Keep doing this all the way around.
Just a Little Note: Once you finish the inner ring, you may be thinking or even saying to yourself, like I was, “This thing is skimpy, I can see my chenille stems! This whole thing looks like crap! Why am I even doing this?” But DON’T give up!! It will get better! I promise!! Once you fill it out with the other layers/colors, it looks SO much better.
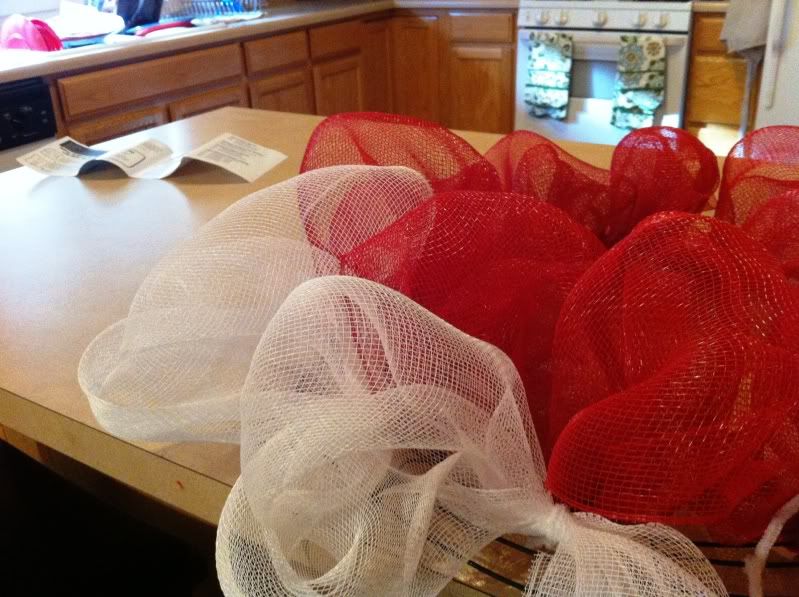 3. With the next color (white for me), repeat the same process all the way around. Try to keep your puffs about the same size so one color doesn’t overwhelm another. Again, if you’re doing all one color, it really won’t matter, but if you’re doing different colors, you want them all to show evenly.
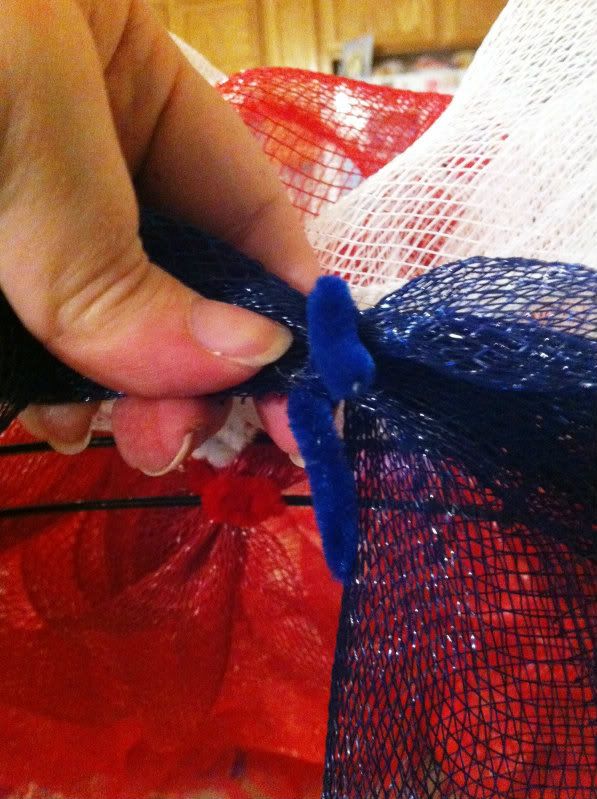 4. Finally, with the third color, on the outer ring, repeat the process. Make sure once you twist-tie on each length of mesh, to take the ends to the back side of the wreath and twist them back there too. It tightens it and gives the whole thing a cleaner look. It’s a whole lot easier to do this as you go then to have to go back and do it all at once.
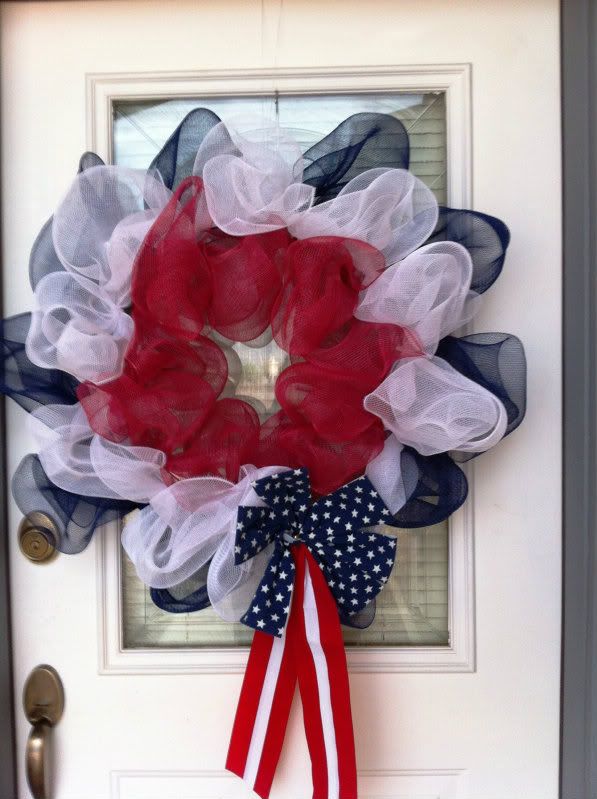
5. Once you get all three colors on, you’re done with the mesh. Tuck your tails in, make sure your chenille stems are tight and get ready to accessorize. Like I mentioned before, there’s a serious dearth of decent craft stores in this little berg so I have to rely on the Internet for everything. I opted to go simple for this wreath, for frugality’s sake as well as aesthetics. I got an all-weather American flag bow like the kind you see on mailboxes and such this time of year (have I mentioned I can’t tie a bow to save my life? Yup, I can do pretty much anything else crafty but when it comes to bow-tying, it looks like a monkey did it.) I attached the bow with the gold chenille stem that came with it.
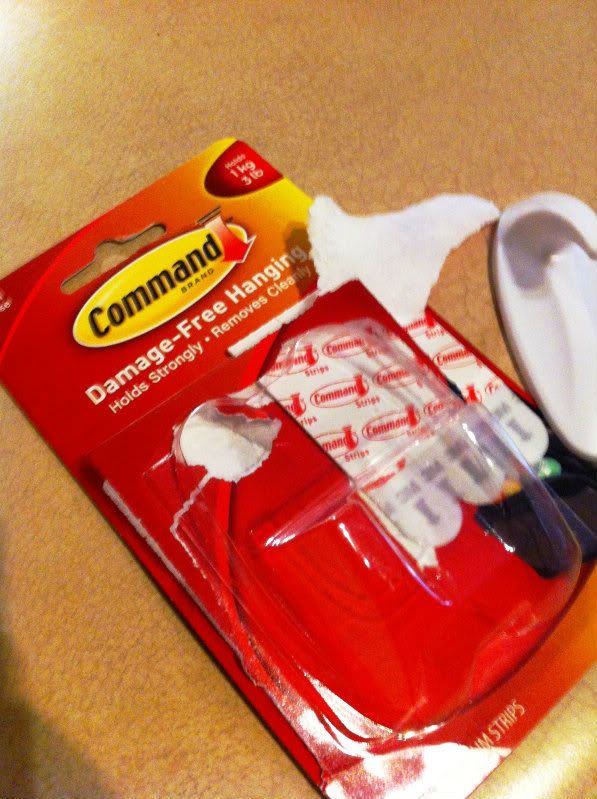
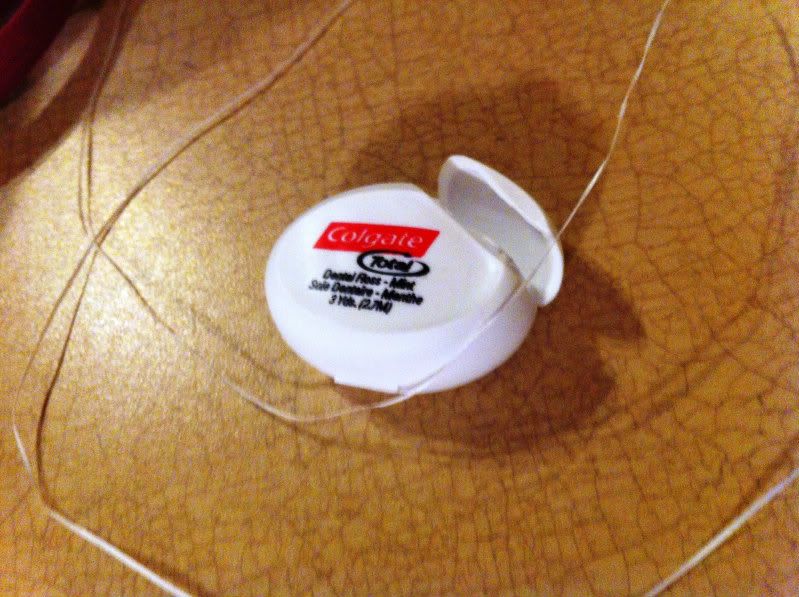
6. Time to show off your work! I hate wreath hangers. Really I do…they either scuff up your door or make it where it won’t close correctly. Plus they position the wreath too high on the door. I like my wreaths pretty much in the middle of the door. So here’s my solution…feel free to steal away! First, because we’re military and rent our homes (so we have to return things the way we found them), I use a Command Hook, stuck to the center inside top of my door, UPSIDE DOWN. Then I use either a matching ribbon, fishing line, or, in this case, dental floss (cause that’s all I could find) loop it through the wire frame of the wreath and hang it from the hook. The floss, ribbon or fishing line is thin enough that it doesn’t impede the door from closing and, if it’s floss or fishing line, you can’t even see it. And, you can’t even see the hook from the inside of the house, it pretty much fades away.

VOILA! Here she is! (The bow is a little crooked, I’m just now noticing…gonna have to fix that tomorrow.)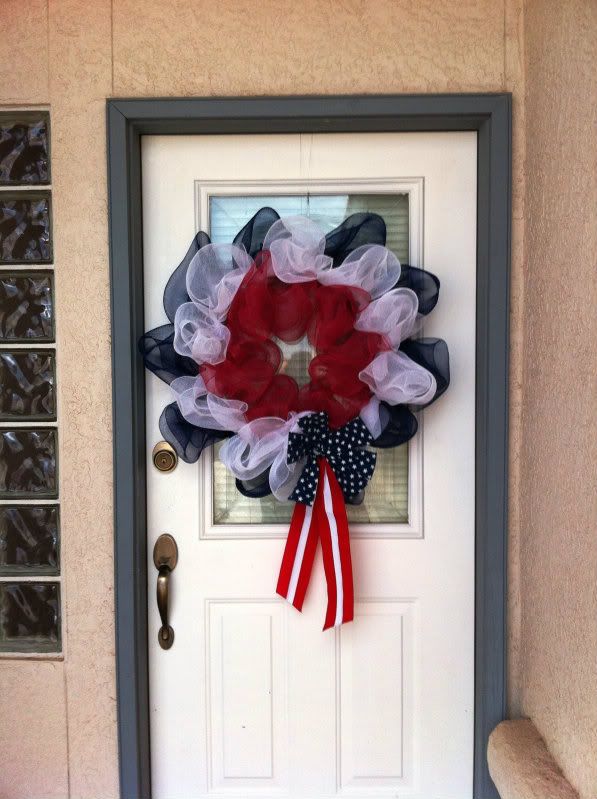
That’s it! I’d love to see what you make! Leave me a comment with a link to your blog with pictures of your wreaths! Also, feel free to pin this. I’m still trying to figure out how to add a “Pin It” button to a WordPress blog without needing a Computer Science degree.
Edited to add: I’m linking to the Pinterest Challenge that’s being hosted by Centsational Girl & Young House Love. Their goal is to get people crafting rather than just pinning!! Check it out!!

pictureperfectcooking said:
Thanks so much for linking to my blog to show my wreath! Your’s looks really really good and I hope it lasts as well as mine has.
mama2aidan said:
It’s been through 2 storms (we’re in monsoon season here in Arizona) and daily rain and it still looks amazing! Of course, our porch is covered but it’s been windy too. Can’t wait to change it out in a couple of months for football season!!
Corrie said:
Precious wreath! Thank you for sharing it. And we love that you bought your products from our site, MardiGrasOutlet.com. Keep crafting. We can’t wait to see what you come up with next.
mama2aidan said:
Thanks for commenting! Y’all have an amazing site! I’ll be back again in a couple of months to buy supplies for my Texas Aggie football wreath (maroon & white). I’ll be going a lot bigger and more decorative for this one…beads and such. I’ll be sure to blog this one & link y’all as well then too! Thanks for all the great instructional tips!!